You can import emails from Outlook and Thunderbird into your Xpert-Timer. The messages are saved as .msg file in the document management. When importing from the task list, your emails will be created as a task in the Xpert-Timer as well as saved in the document management system.
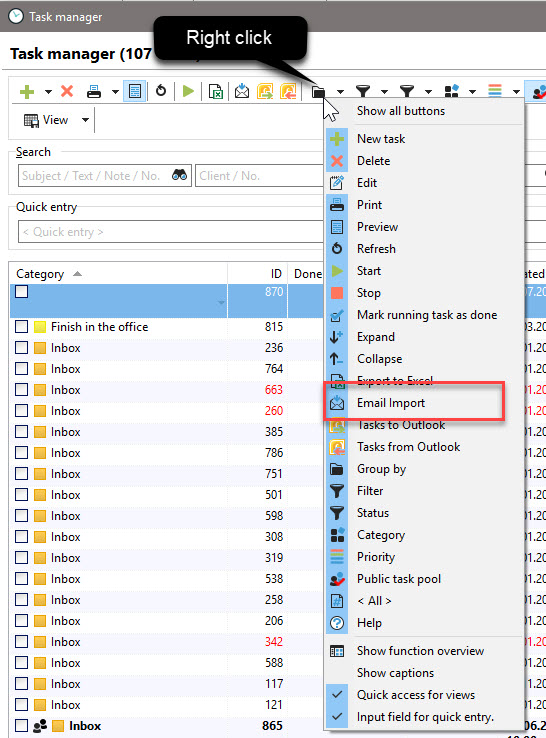
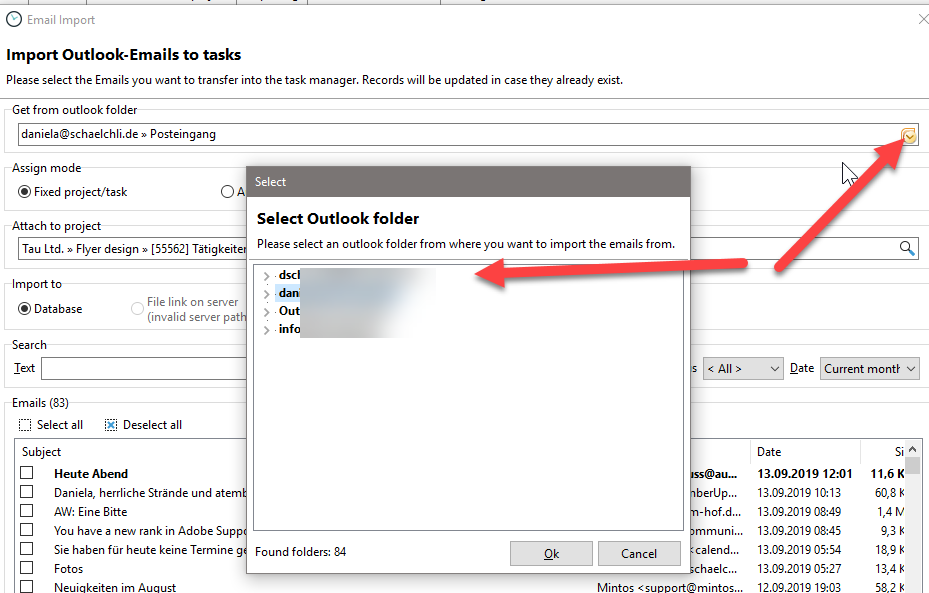
In the next step, click on the button. In this dialog you can now select a specific Outlook folder via the "Outlook" button.
The folders will be listed in the next step::
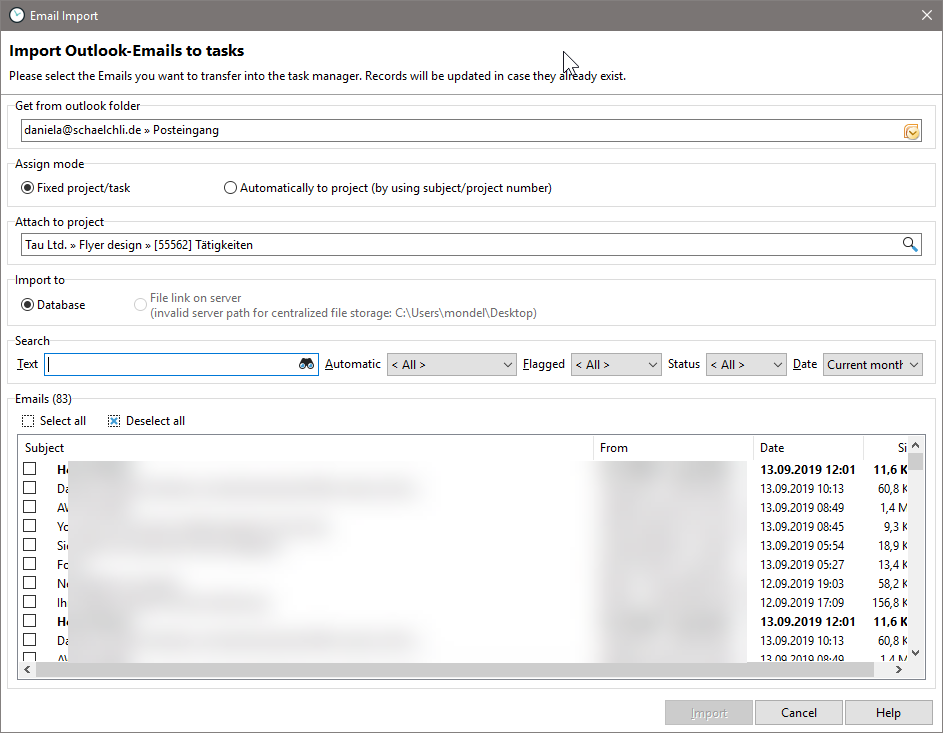
All emails from the selected folder will be loaded. You can then choose in the next step exactly what you would like to incorporate into your Xpert-Timer. Make sure that you have selected the correct project to create tasks for.
By setting the check mark next to the individual e-mails, you can select specific e-mails for import. For many emails, it's best to restrict the search using the date field.

As soon as you click on "Import" your e-mails will be written to Xpert-Timer database.
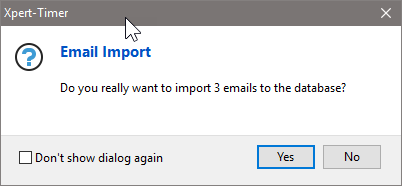
Confirm the message with "Yes". This imports the data.
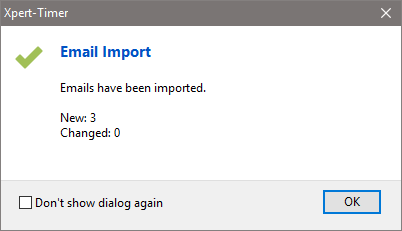
Your imported emails are now visible in your task list.

At the same time they also appear in your document management:

You can also conveniently drag&drop the tasks from your Outlook program into the task list of the Xpert-Timer. This will allow you to import the task quickly and easily. (See manual entry below)
To do this, right-click on one of the buttons to show the button "Tasks for Outlook" and "Tasks for Outlook".
Import via Drag&Drop
Another way to import an e-mail into the task list is to drag this e-mail into the task list of Xpert-Timer. After dragging and dropping, select the corresponding project for which the Outlook e-mail is to be converted to the task.
In the next step you will see again the "Create new task" details, with the information from the e-mail. Fill in the additional information and save the new task.
![]() Please note that the e-mail text can not be included in the text area of the task. The e-mail is saved as an attachment to the task. The subject of the e-mail is included as the subject of the task.
Please note that the e-mail text can not be included in the text area of the task. The e-mail is saved as an attachment to the task. The subject of the e-mail is included as the subject of the task.
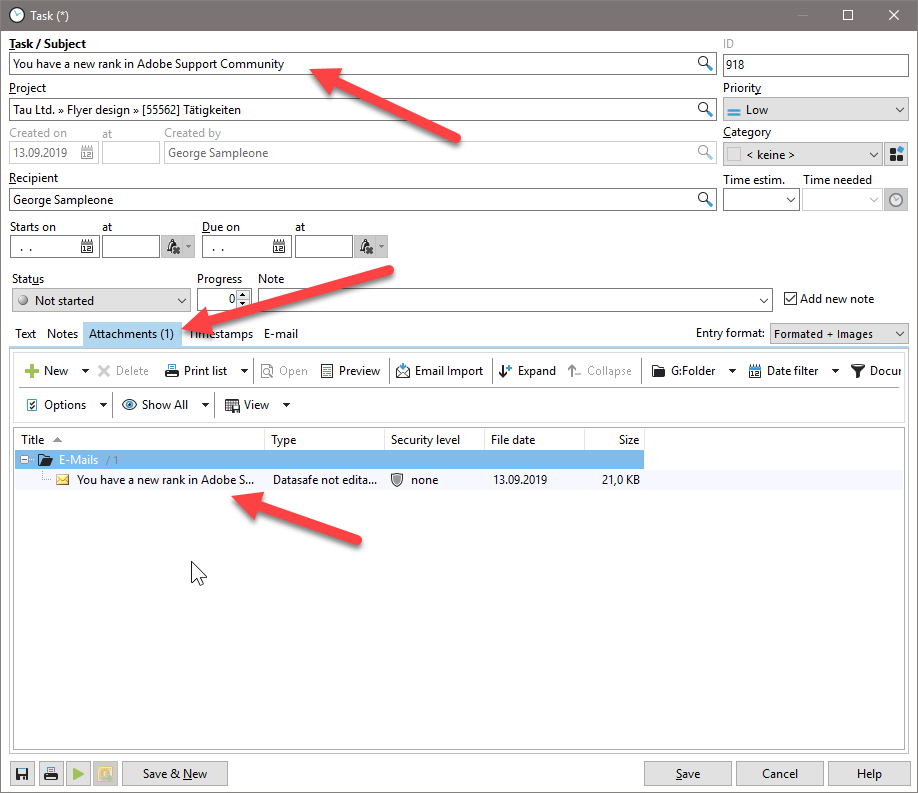
The details of the e-mail can be found in the "Attachments" tab.
Automatic sending of the created tasks to Outlook
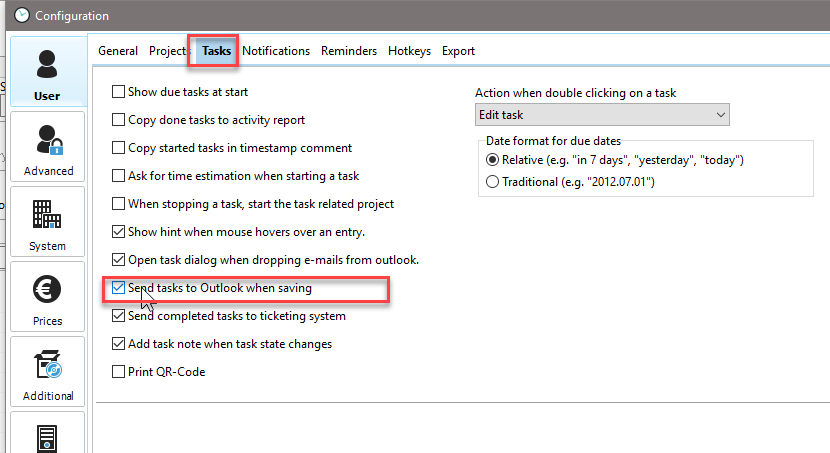
In the configuration you will find a checkbox for "Send task to Outlook". You should use this function if you basically want to export almost all tasks to Outlook.
If you only want to send tasks to Outlook, do not use this option. When you save the task, you will be asked if you want to export the task you just created to Outlook. Now you can decide how to proceed.
